AR Image Tracking Tutorial with Kivicube A Step-by-Step Guide
With Kivicube, anyone can create incredible AR experiences in just 5 minutes. Imagine Kivisense’s mascot, “Image,” bursting through your screen and into the real world! Let’s learn how to use Kivicube’s image AR features to build your own amazing scenes.
Preparation
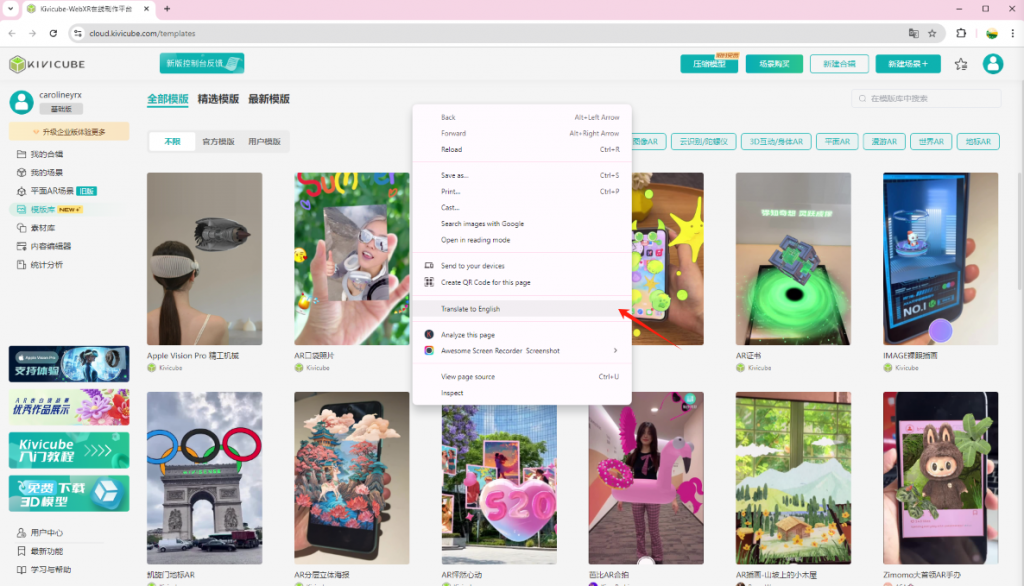
If you find the Kivicube dashboard in Chinese, no problem! Using Google Translate, you can easily operate in your preferred language. Let’s get started with some preparation steps:
2. Right-click on the page and select “Translate to English” (or your preferred language).
If you are unsure how to switch your webpage translation settings, please refer to the following details for your browser: Chrome | Safari | Edge | Firefox
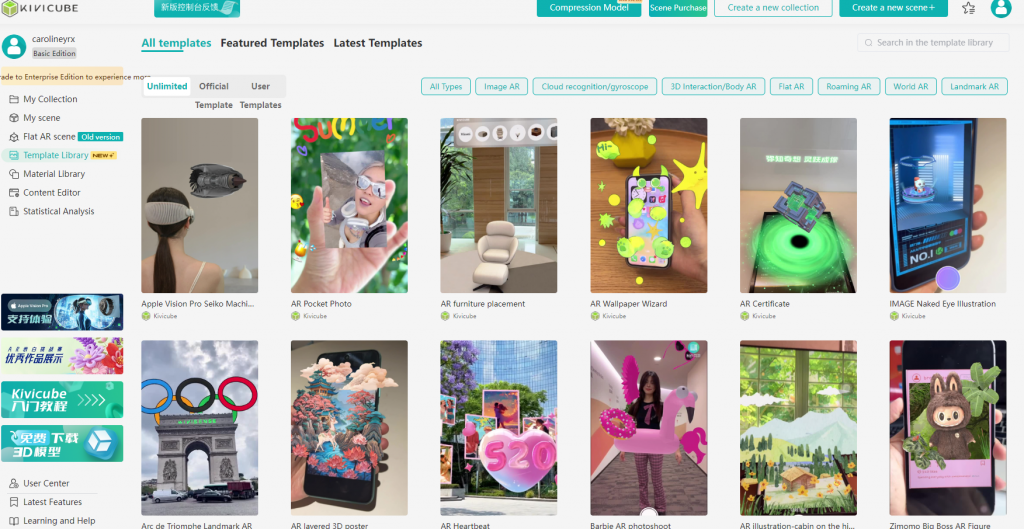
● Log in to your Kivicube dashboard and click "Create a new Collection" in the top right corner.
● Select "Image AR"(图像AR) as the scene type, give your collection a name, and click "Save."
● Click "Open Collection" and then " Creat a blank scene"to start building your scene.
● Give your scene a name, upload your "image target", and click "Create Now".
Step 2: Import and Adjust Models
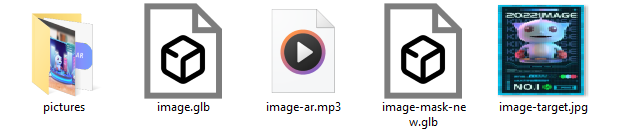
1.Click the cube icon in the top left corner to upload the two GLB model files you downloaded.
2.Drag the uploaded models onto the grid on the right.
3.Use the red, green, and blue axes to position your models, or enter exact values in the XYZ fields for precise placement and interaction settings.
To make the mascot look like it's emerging from the image:
●Place the "image.glb" model below the "image target" and align it closely.
●Adjust the XYZ positions as needed and enable simple AR interaction effects or use the recommended XYZ values for "image.glb":
Recommended values for "image.glb":
4.To automatically play the model animation when the image is recognized, check "Show" and "Automatically play model animation." Select "Loop" for continuous playback.
5.To enhance the realism, add a model mask file to cover unwanted areas of the scene:
●Click "image-mask-new.glb" on the right to set up the interaction.
●Enable "Show", "Mask", "Automatically play model animation", and "Loop".
●Adjust the mask model's size and position to cover the desired area, or use these suggested values:
Step 3: Add Background Music
1.Click the music note icon on the left side to upload your chosen MP3 music file (image-ar.mp3).
2.Once uploaded, drag the image-ar.mp3 file onto the grid.
3.Select the audio file on the right and enable "Autoplay audio" and "Loop".
4.Go to the "Function" tab, click the audio control button, and set the music to play when the image is recognized and tracked.
5.To ensure music only plays during the AR experience, set it to pause when the image is no longer recognized.
6.Now your AR scene is almost complete! Customize the background image, your logo, and the scene start button for a polished look.
Final Touches
1.Adjust scene settings like background image, logo, and scene start button.
2.Click the "Share" button on the top right to customize your sharing image, title, and description.
3. Choose "Web" under the preview code (or "Mini program" for WeChat). Scan the QR code or copy the WebAR link to preview your AR scene.
ImportantSave your project regularly as Kivicube doesn't auto-save.
Experience Your AR Scene
Scan the QR code or open the share link, point your phone's camera at the AR image, and watch your creation come to life!
That's it! Your image AR experience is now complete. Register and start creating your first AR scene with Kivicube today!
Try Kivicube Today!
Discover the power of Kivicube’s low-code platform for spatial creation. Try it out for free or subscribe for full access.
")
")
")
")
")
")
")
")
")
")
")
")
")
")
")
")
")
")
")
")
")